How to hang my artwork?
In this article, I’ll explain step-by-step how to safely hang your artwork on canvas and what tools you’ll need to do it.
Tools
Depending on the material composition of the wall to which you want to attach the work, you have different options for hanging:
For solid walls, you can use nails for small, light works (up to 8 kg) and normal dowels with screws for large works that are heavier.
For non-load-bearing interior walls made of plaster, for example, so-called monkeyhooks are a practical option. However, if necessary, the use of dowels (especially for plaster walls) and screws is also possible here.
Before hanging, please find out what your walls are made of and choose the appropriate material.
Before hanging your artwork, have the following tools ready:
- Nails or dowels with screws or MonkeyHook
- Hammer or cordless screwdriver with drilling attachment and screwdriver
- Measuring tape or folding rule
- Spirit level (for sizes from about 60×60 cm)
- Pencil
If you can, ask someone to help you hang the canvas, because then it’s easier to find the right position.
The canvas is simply placed on the nails, screws or hooks using the hanging system, which I attach to the back of the frame beforehand, and thus attached to the wall.
Find the right position
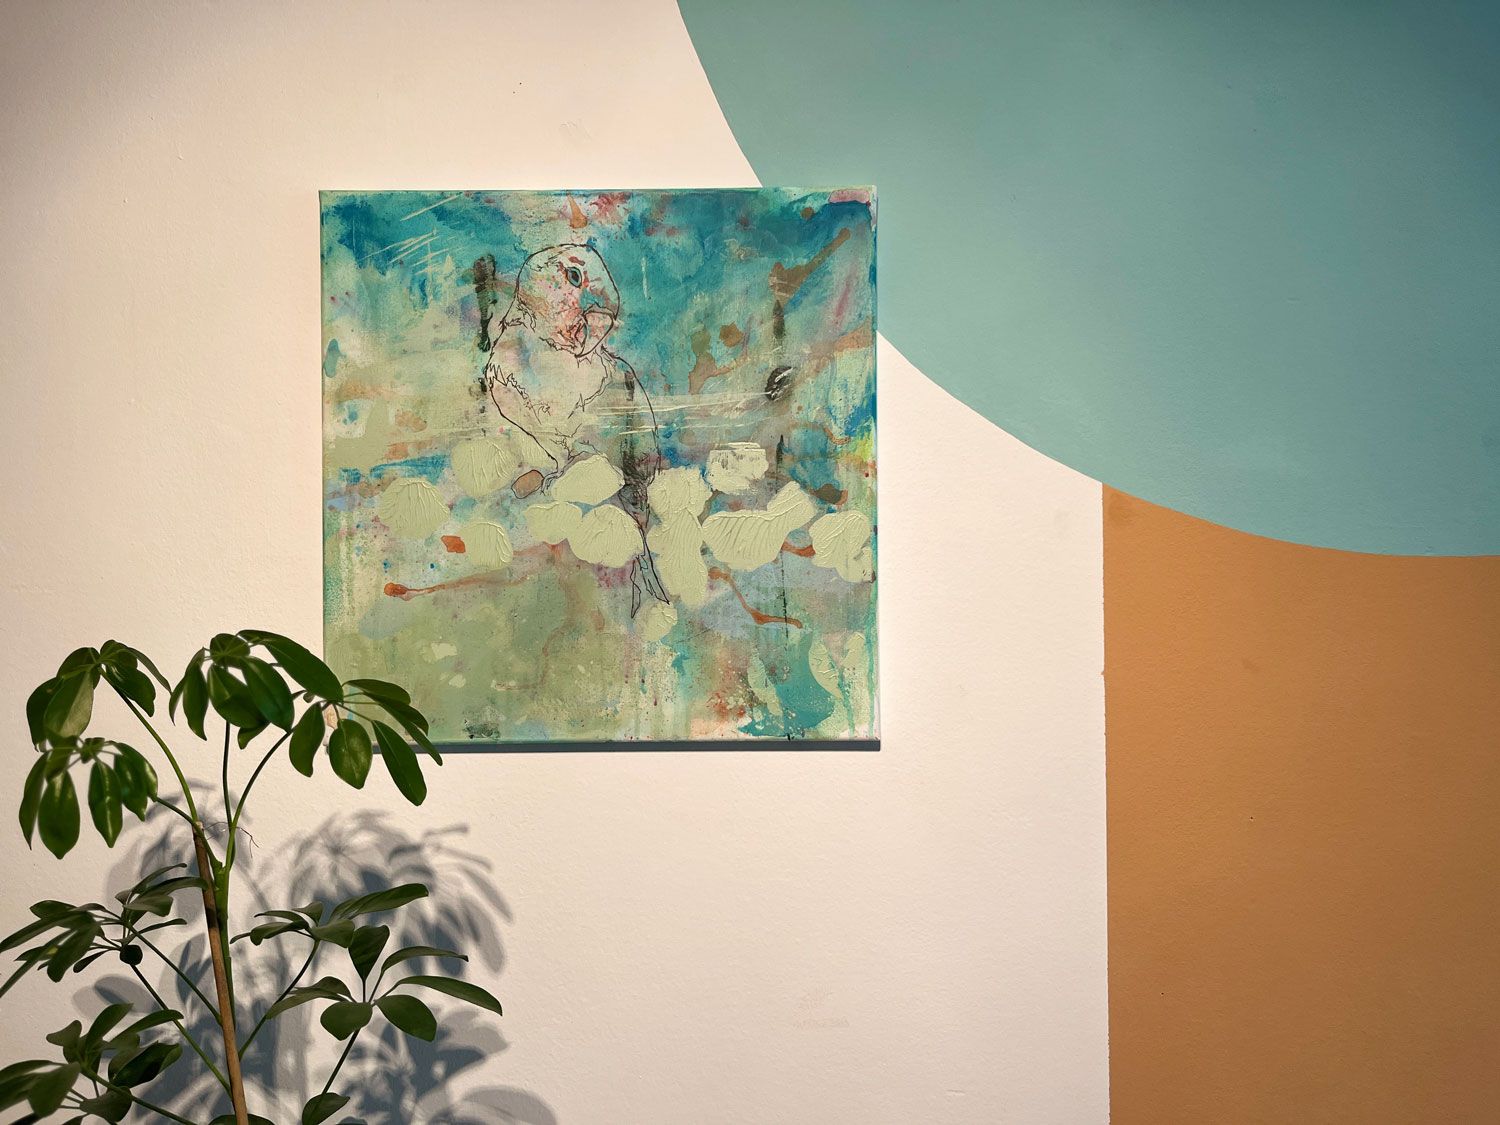
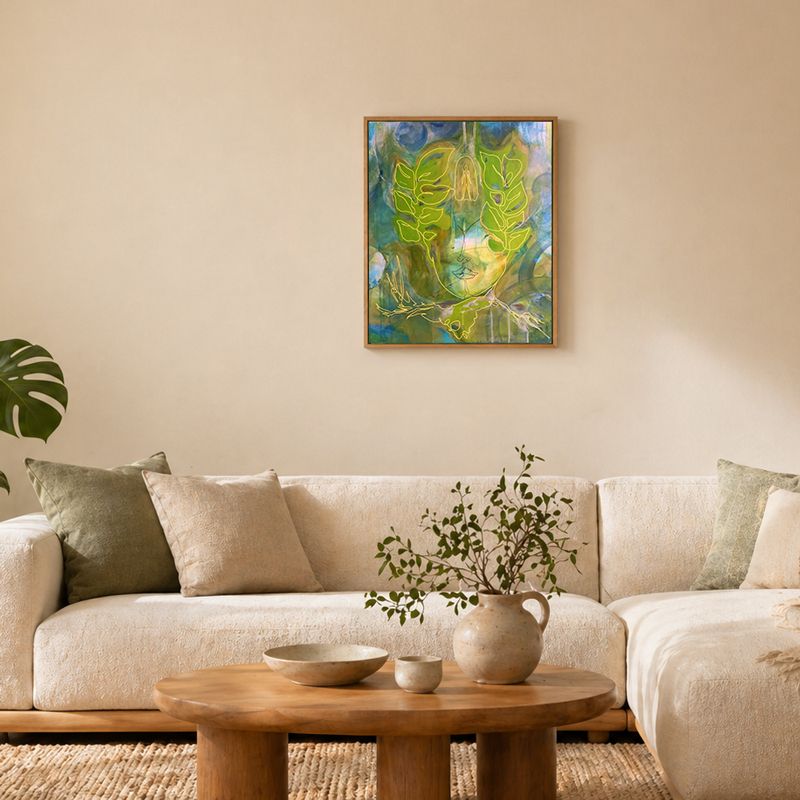
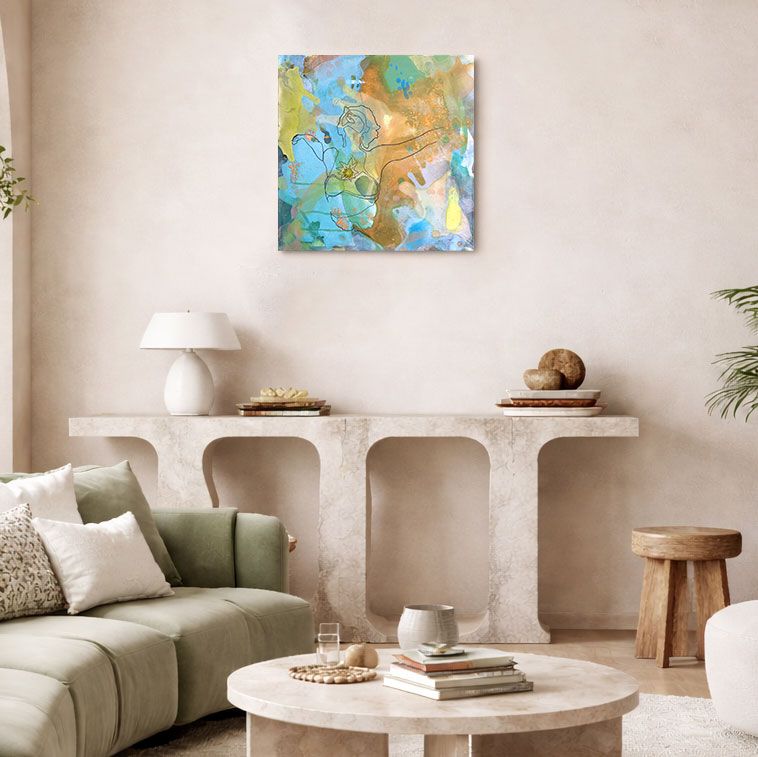
Once you have all the tools at hand, it’s a matter of deciding where to hang the work. Usually, the artwork is hung at eye level (145-150 cm above the floor). However, this can vary depending on the height of the ceiling and the size of the artwork.
Pieces of furniture should also be included in the choice of height. To create a harmonious effect, pictures can be hung at a distance of about 30 cm from the piece of furniture. It is best to orient yourself to existing edges in the room, such as doors, windows and furniture.
But the most important thing is your personal feeling. The position of the picture should be exactly right for you, regardless of whether it corresponds to objective guidelines or not. Beauty is in the eye of the beholder.
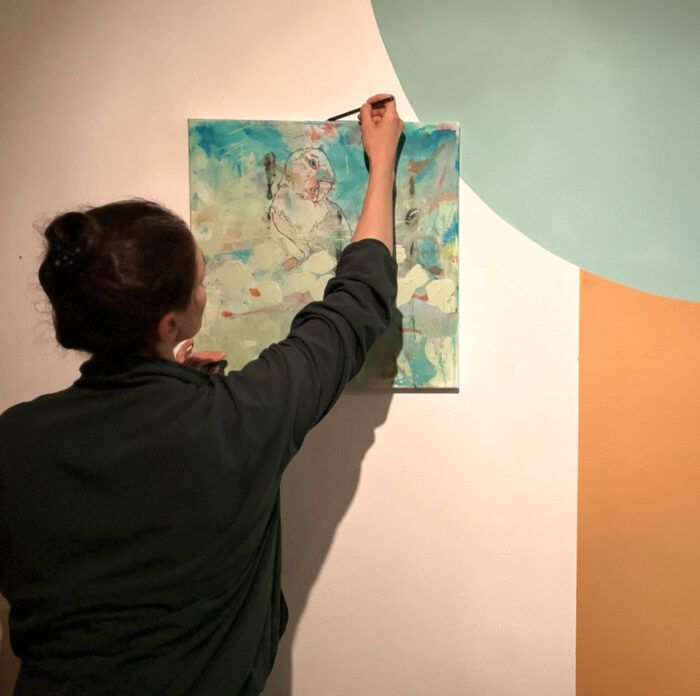
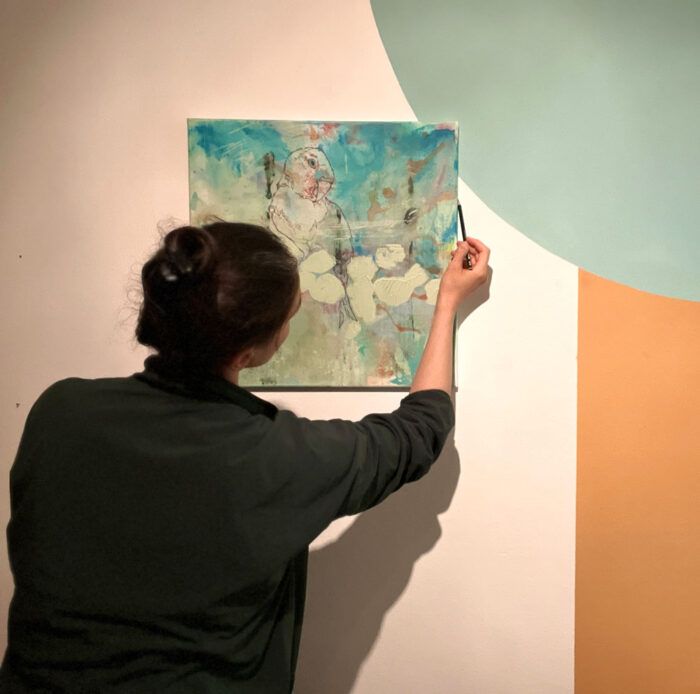
So hold your artpiece where you want to put it, or even better, ask someone to help you. Then mark the position at the top and sides with a pencil:
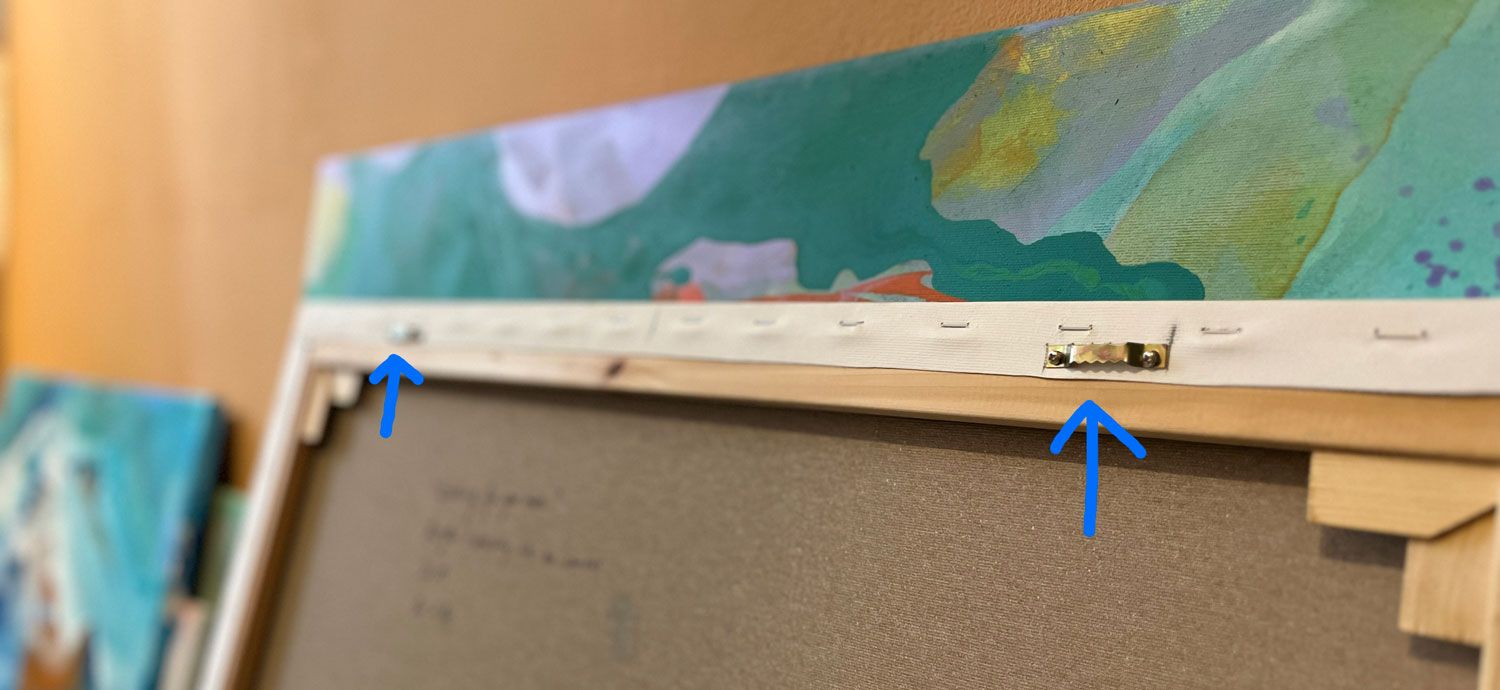
The nails or screws then need to be placed slightly below the drawn mark, as the picture will hang on the hanging system that I attach to the stretcher:
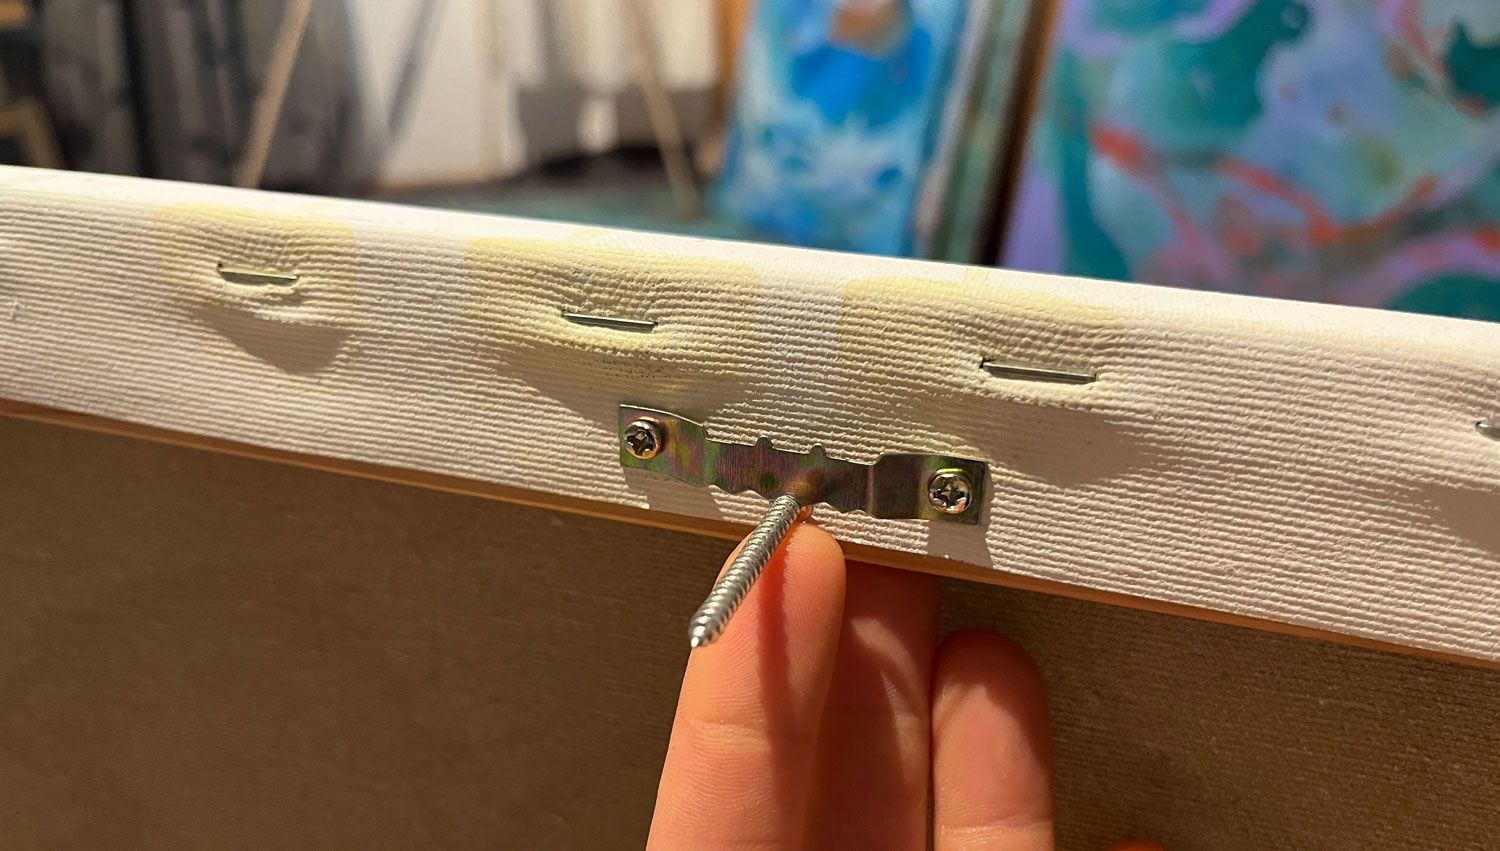
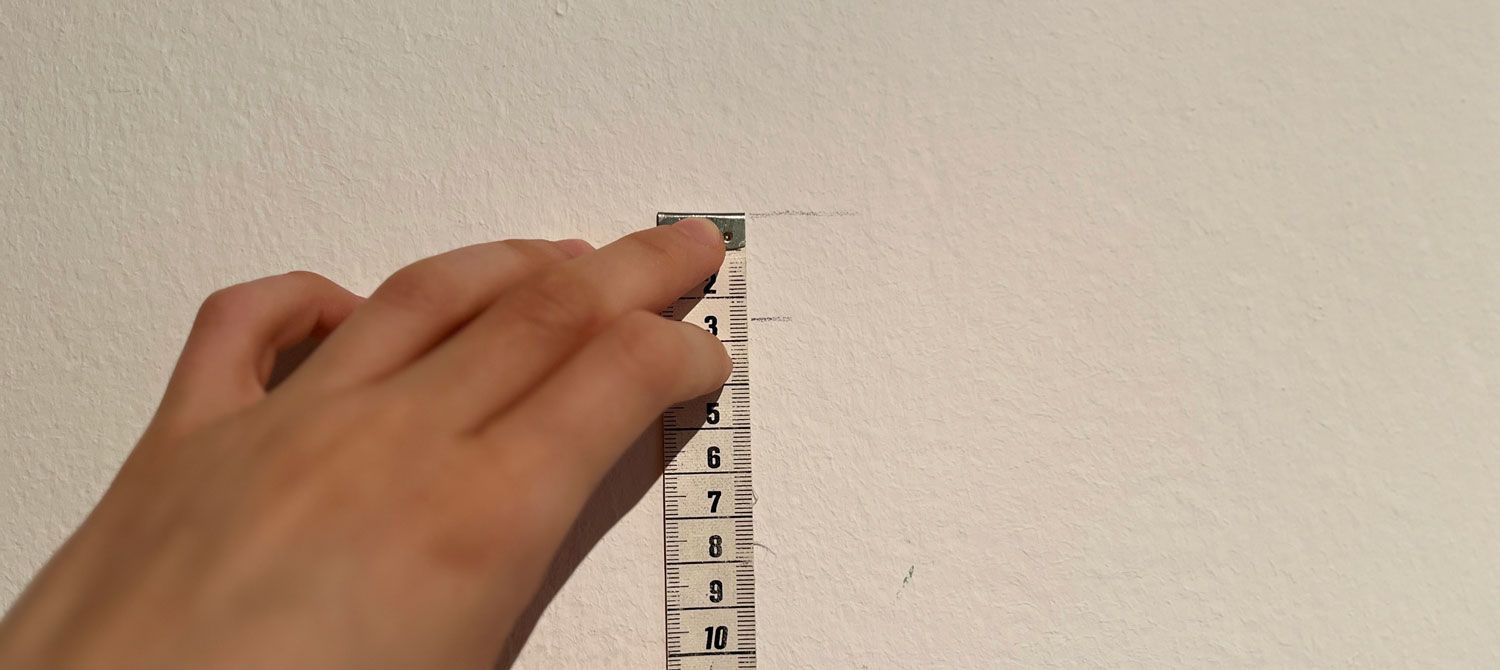
To do this, measure from the edge of the canvas to the bottom edge of the picture hangers to define the height of the holes for the nails or screws:
You then measure this distance down from the height you drew in and mark the spot again with the pencil. Now you have the height at which the nails or screws are to be fastened:
For works up to about 50×50 cm, one nail or screw is quite sufficient. In this case, you can skip the next part and continue reading below at the point “Hanging with nails and hammer”, “Hanging with drill, dowel and screws” or “Hanging with the Moneyhook”.
For wider works, it is advantageous to use two nails or screws so that the work hangs stably on the wall.
To do this, measure the length from your left mark to the right mark (side mark of the work on the wall) and calculate the center. From there, go out about 20 cm at a time. Remain thereby on the height, which you defined before. Mark this place again with the pencil.
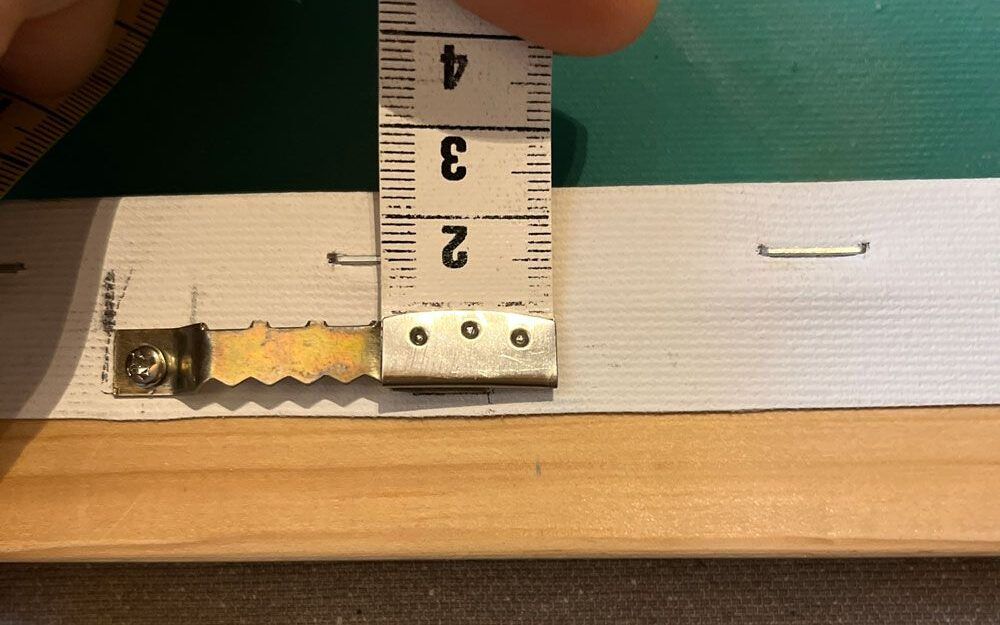
Please note that I attach a hanging system to the back of the picture, which ensures that the work does not fall easily when touched. It is important that the spacing of the nails or screws matches the picture hangers. As a rule, I stick to the 20 cm rule as described. To be on the safe side, please still check the distance before you drill the holes to make sure the dimensions are correct:
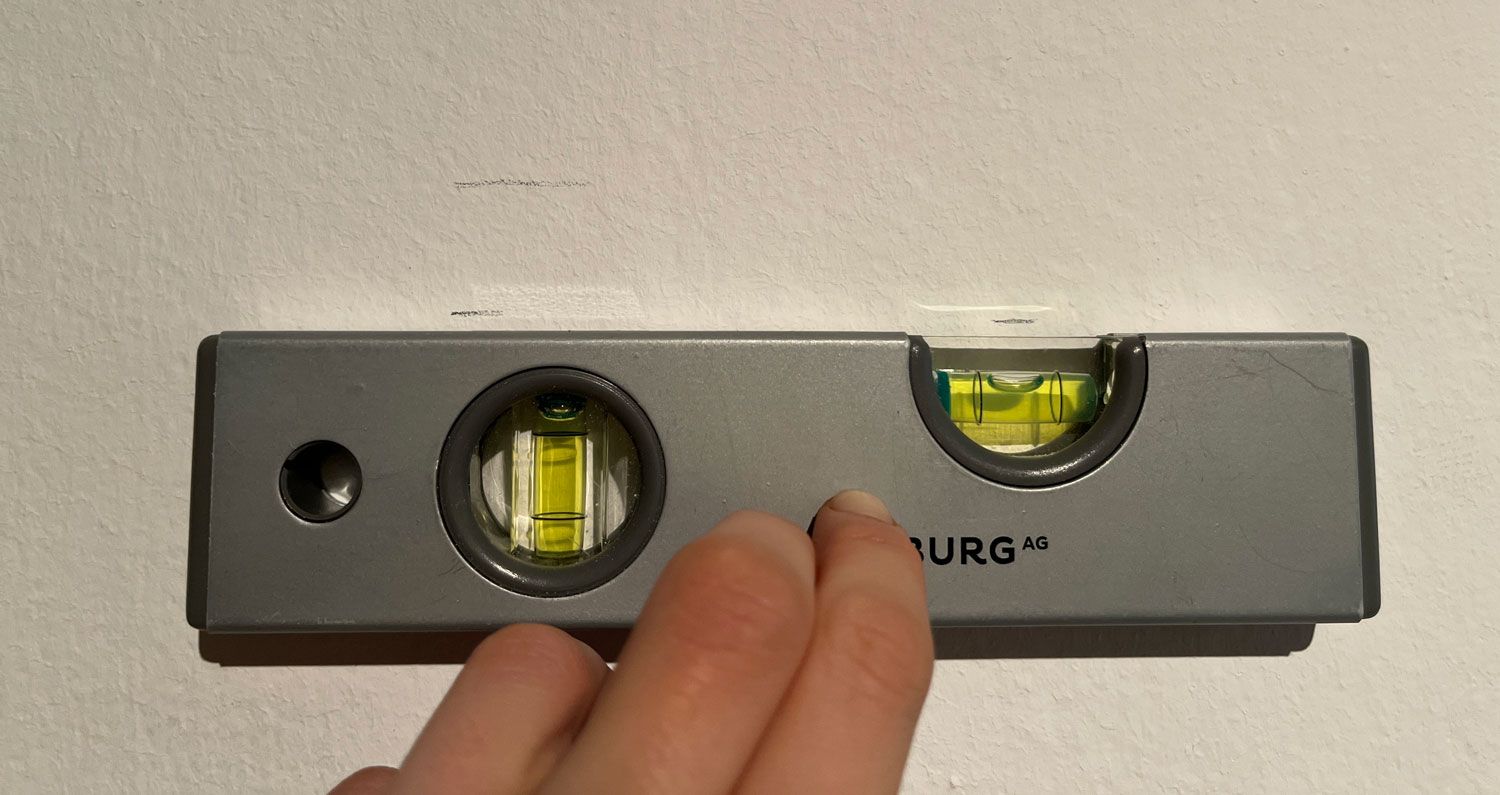
You can also use the spirit level to double check that your marks are in line and correct them if necessary:
Now you have found the points for your holes.
Hanging with nails and hammer
Light works can be easily hung with one or more nails.
There are different nails for different walls. But short steel nails of four to five centimeters are good for any wall. However, the heavier and larger the picture is, the larger the nails should be.
The wall texture is also important when choosing a nail. For porous walls, dowels with screws are much more suitable.
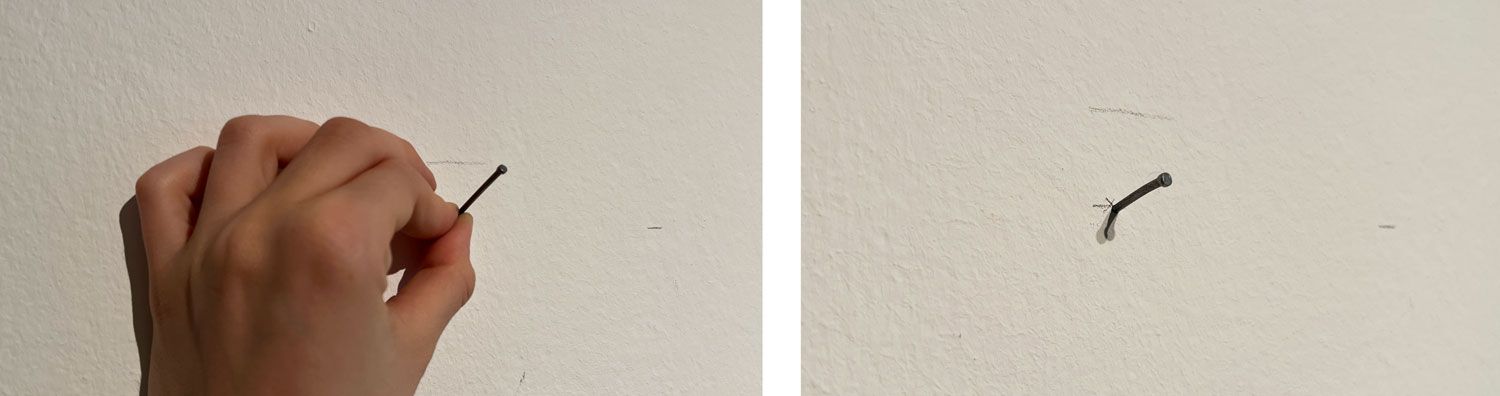
You have found the right nail? Then hammer it into the wall at a 45-degree angle. This will prevent the nail from bending or damaging the wall. The nail has a 45-degree angle when it is hammered into the wall at an angle with its head facing the ceiling:
Once the nail(s) are in the wall, you can use a spirit level to double-check that they are really horizontal in the wall. If necessary, move the nails up or down a little until they are in the right position.
Hanging with drill, dowels and screws
I usually sell my works without a frame. But if you would also like to frame your picture, it can get quite heavy. Especially if the frame is made of wood or metal or the painting is very large.
Then dowels with screws are a good or better option.
Get the screwdriver and drill the holes for the screws. You can suck up the dust directly during the drilling with the vacuum cleaner. Drill the hole only so large that the dowel can just be pushed in.
Then press the dowels into the previously drilled holes and screw the screws into the dowels using a screwdriver. The screws should still stick out a little so that you can hang your picture on them.
Tip: For plaster walls there are also self-drilling dowels. As the name implies, you don’t have to drill a hole in the wall beforehand to attach it. The idea behind this is that the dowel gets hold in the wall while screwing it in. To do this, screw the screws into the dowel with the help of a screwdriver.
You can use the spirit level to check again whether the holes are really level and, if necessary, move the screws up or down a little until they are in the right position.
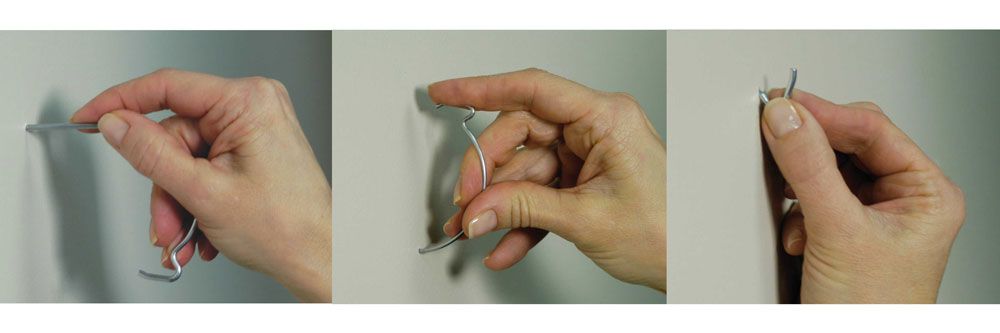
Hanging with the Monkeyhook
The MonkeyHook is a strong spring steel hook that allows you to attach a picture up to a weight of 18 kg (depending on the size) to plaster walls. Without any tools.
To do this, you press a hole in the wall with the self-drilling tip, with light pressure and a little back-and-forth twisting. Then turn the Monkeyhook and push it through the hole from above. If necessary, you can arrange it a little more afterwards:
Lean back and enjoy
You made it this far and put all the necessary nails, screws or hooks?
Congratulations.
Now you can hang the picture on the wall.
Then lean back and let it work its magic on you.
And if you feel like it, you are welcome to share your experience with me. I am always happy about feedback 🙂